A super decadent and chocolatey cookie that is a little different than your classic chocolate chip cookie. Perfect for when you really want to treat yourself.
This cookie is rich and luxuriously full of chocolate pools since in most bites there’s more chocolate than cookie dough. But c’mon, we don’t bake cookies to be healthy! These cookies only have a hint of mint that isn’t overbearing and just enough to set them apart from other cookies!
Ingredients
- Butter: Room temperature butter is a must! Cold or melted butter will not cream with the sugars as well and the cookie just won’t turn out the same. I like to use unsalted so I can control how much salt I add into the recipe.
- Sugars: Any white granulated sugar should work. For the brown sugar, make sure to pack it in the measuring cup. I also suggest using golden brown sugar if you have it. The darker brown the sugar is, the more molasses it has, which will change the texture and moisture of the cookie.
- Eggs: Using 1 large egg + 1 egg yolk will help keep this cookie chewy!
- Flour: When measuring your all-purpose flour, make sure you aren’t packing it down in the measuring cup as that can result in over-measuring which results in a dry dough. An easy trick I do is to scoop the flour, then shake until level. If you use a knife or spoon to smooth it over, you are actually pressing more flour into the cup and over-measuring.
- Baking soda: Make sure your baking soda is still active! Oftentimes baking soda once opened doesn’t last until the expiration date on the packaging. To test, put some baking soda into a bowl, add some vinegar or lemon juice. If it fizzes a lot, it’s active. If not, it’s not.
- Salt: I used 1 tsp of fine grain sea salt. If you use coarse grain, you can 1.5x or 2x the salt quantity since it’s not as compact when measured.
- Chocolate: I love using the Trader Joe’s Pound Plus Dark Chocolate bars for every cookie recipe that requires chocolate. The chocolate isn’t too sweet and using a chocolate bar creates that bakery-style chocolate chip cookie taste. You just can’t get the same effect with chocolate chips. If you only have chocolate chips, run your knife through them and give it a good chop to get the same type of little chocolate bits running through the cookie.
- Andes chocolate candies: These are the key for the topping!! You can find them online or at any grocery store.
- Peppermint extract: This is not the same as mint extract! You can definitely substitute mint extract if you can’t find peppermint, but in general, I think the flavor of peppermint extract tastes more like peppermint candies instead of toothpaste!
Directions
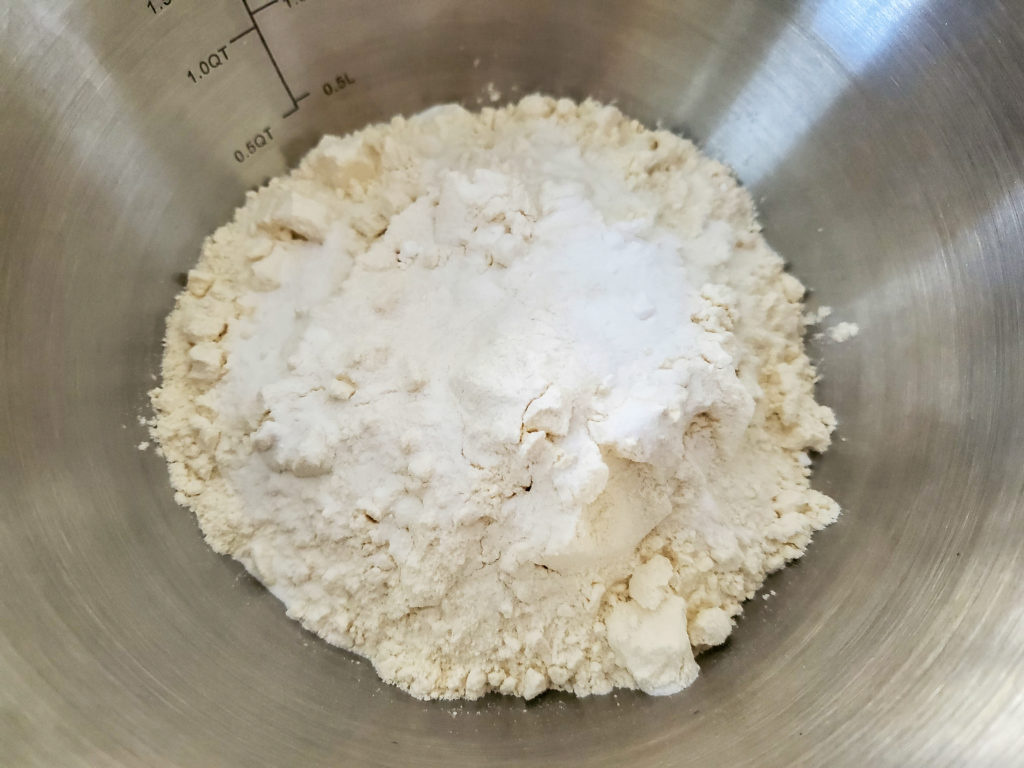
In a separate bowl, whisk the flour, baking soda, and salt together. Set aside. I prefer doing this in a separate bowl beforehand instead of dumping each ingredient into the wet ingredients later because this way all the dry ingredients are evenly dispersed and we won’t have to overwork the batter as much later.
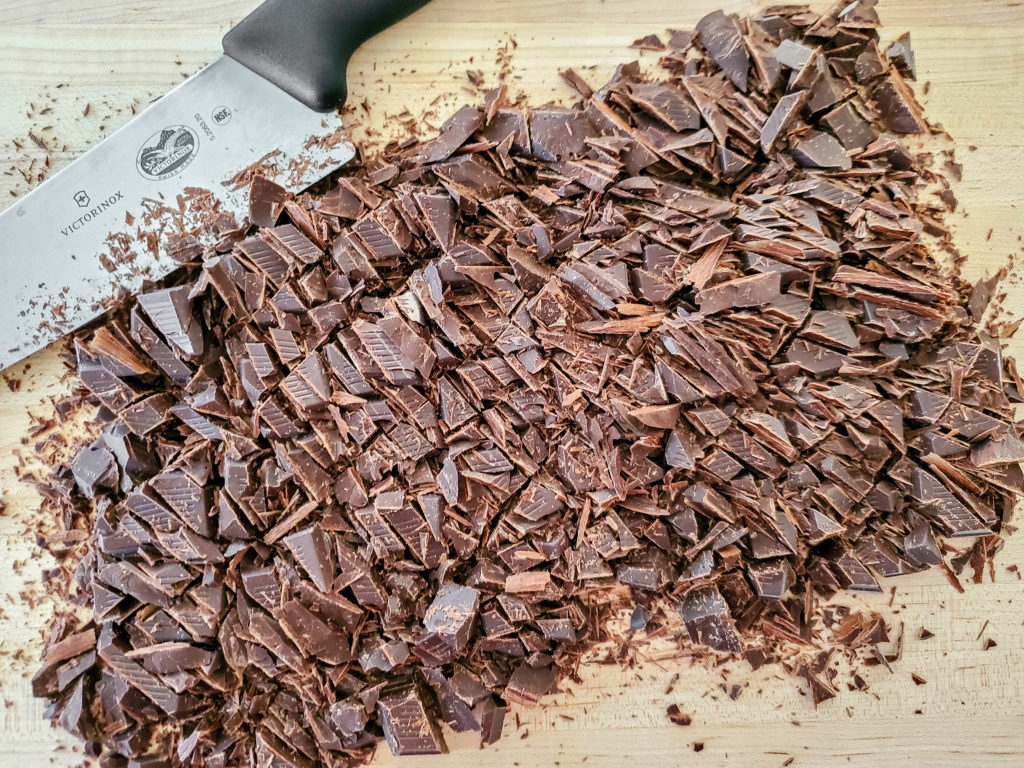
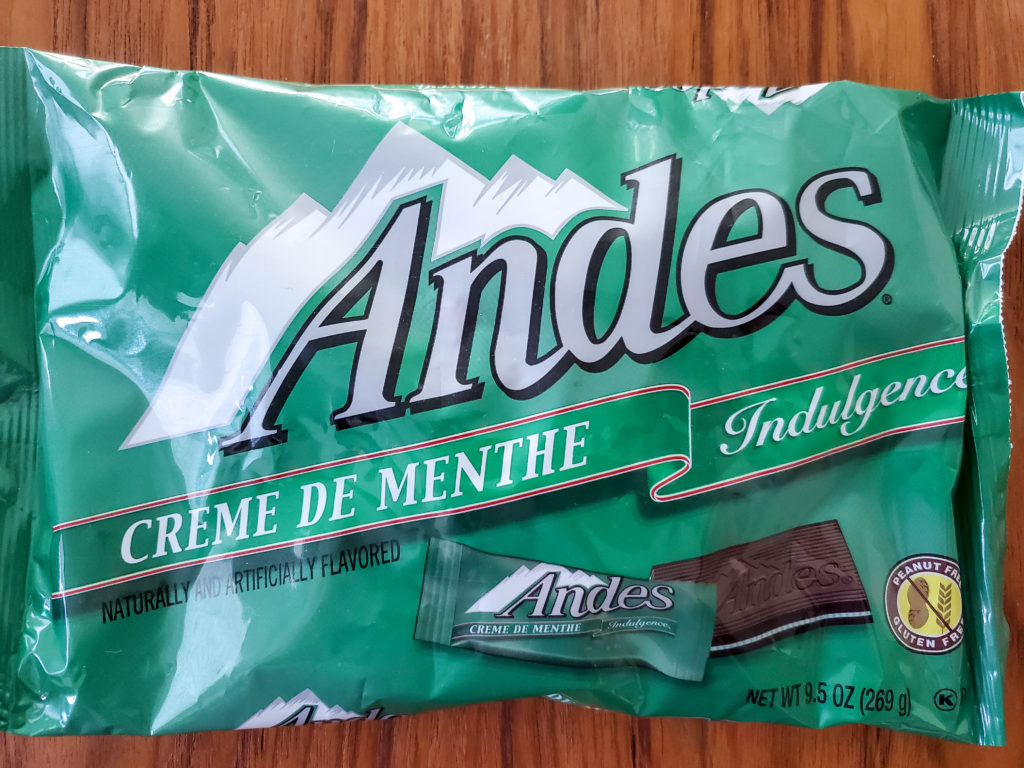
 Chop the chocolate bar into chip size pieces and set aside. Also, break the Andes chocolate candies into halves and set aside.
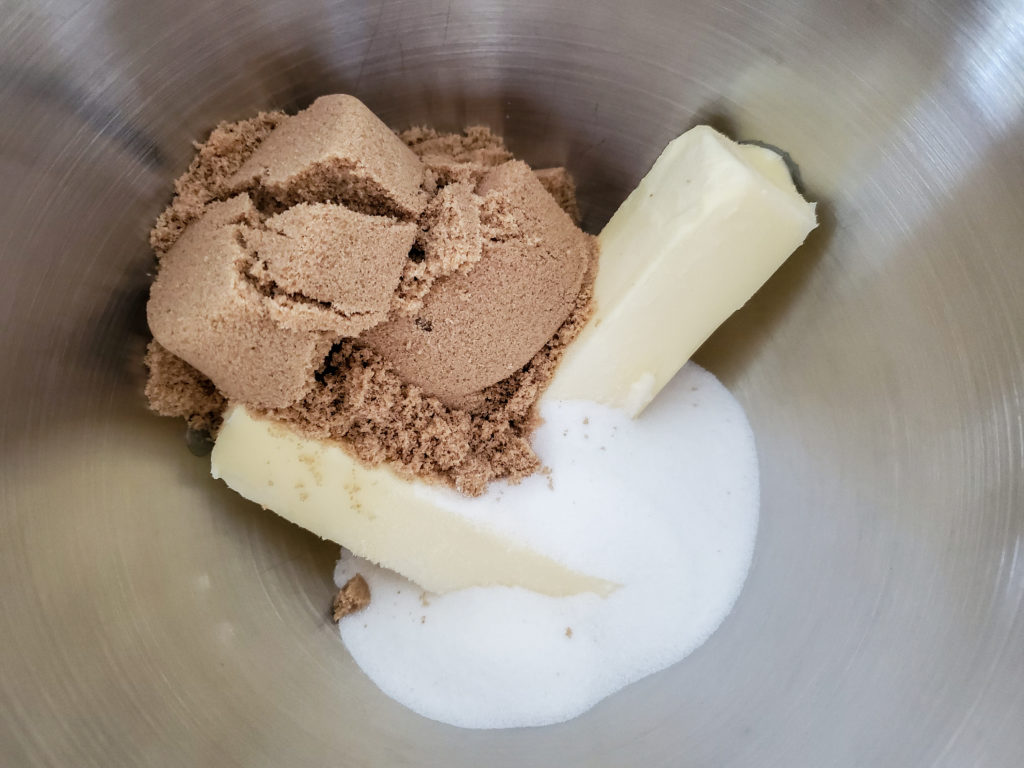
 Preheat oven to 350°F. Add the room temperature unsalted butter and both sugars into your mixing bowl.
 Using the paddle attachment of the standing mixer, cream the butter and both sugars together until very light and airy (~5 minutes). I start on low speed until the sugars are incorporated, then bump it up to low-medium speed (speed 4). Be sure to scrape down the sides with a silicon spatula to make sure everything is combining!
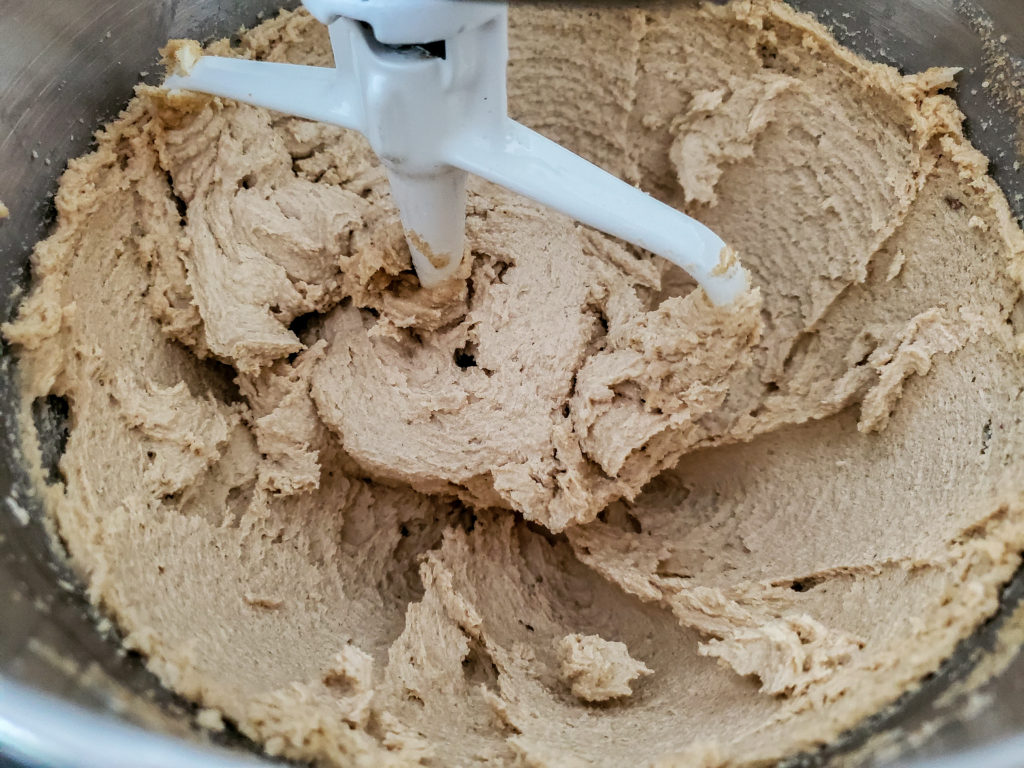 Add 1 large egg + 1 egg yolk, vanilla extract, and pepper mint extract. Then mix until evenly distributed. Be sure to scrape down the sides with a silicon spatula to make sure everything is combining!
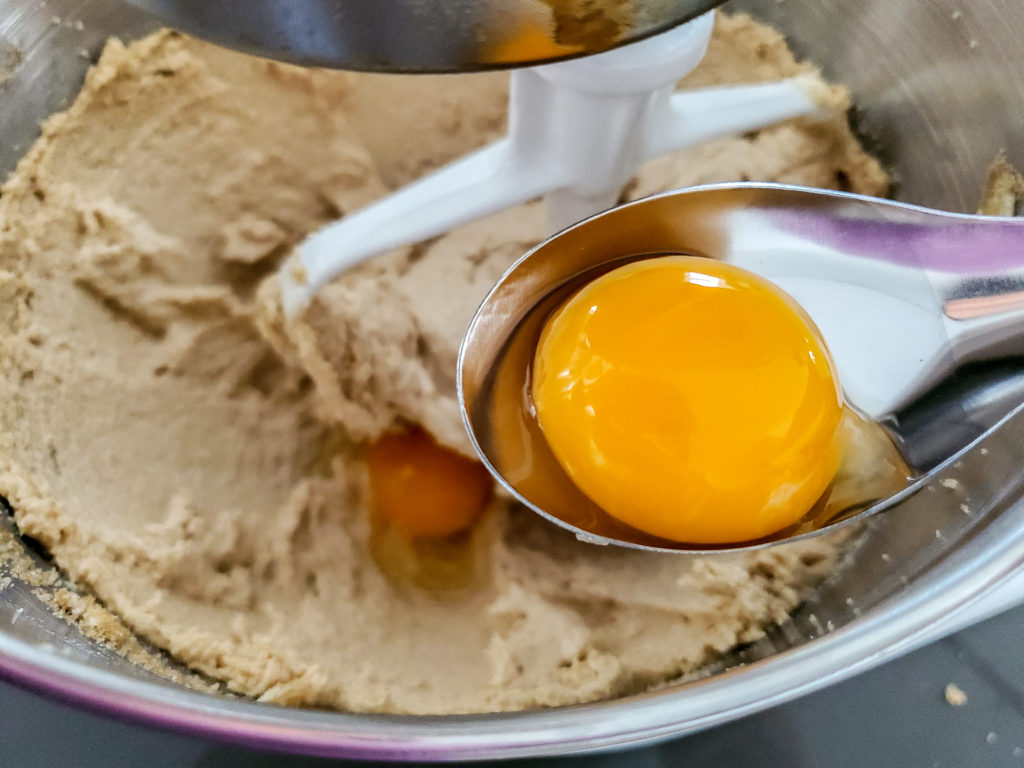 It will look a little something like this after the eggs and extracts are combined.
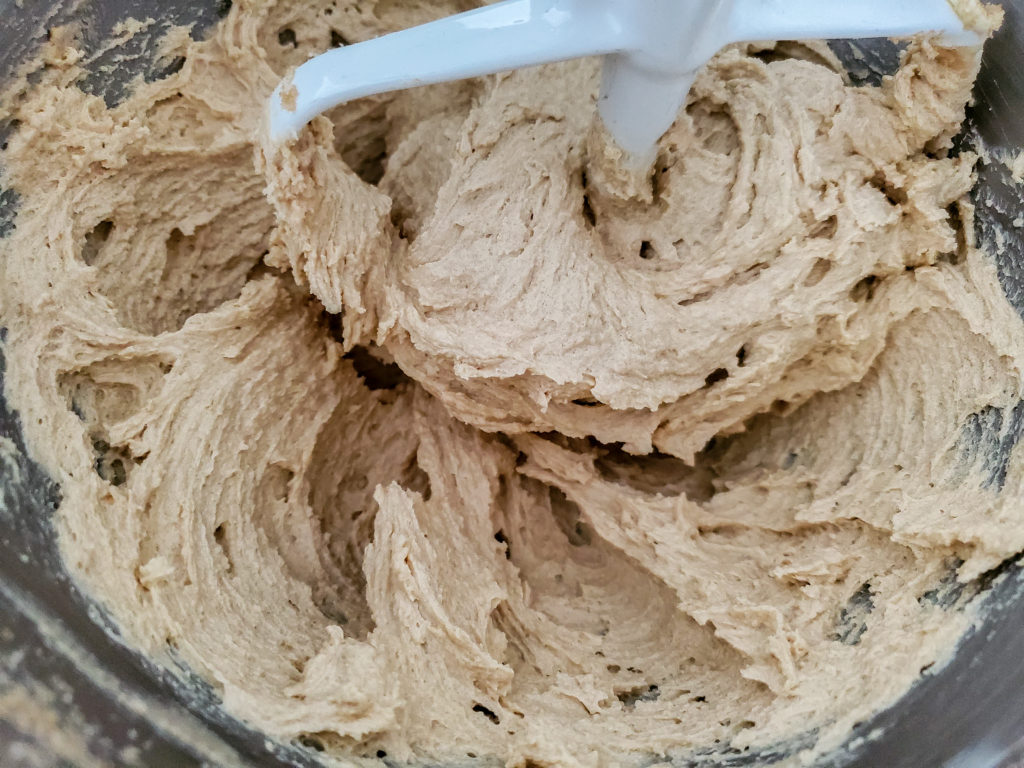 Add the dry ingredient mixture in 1/3 at a time and mix on low speed to combine. Stop mixing once it looks evenly distributed!
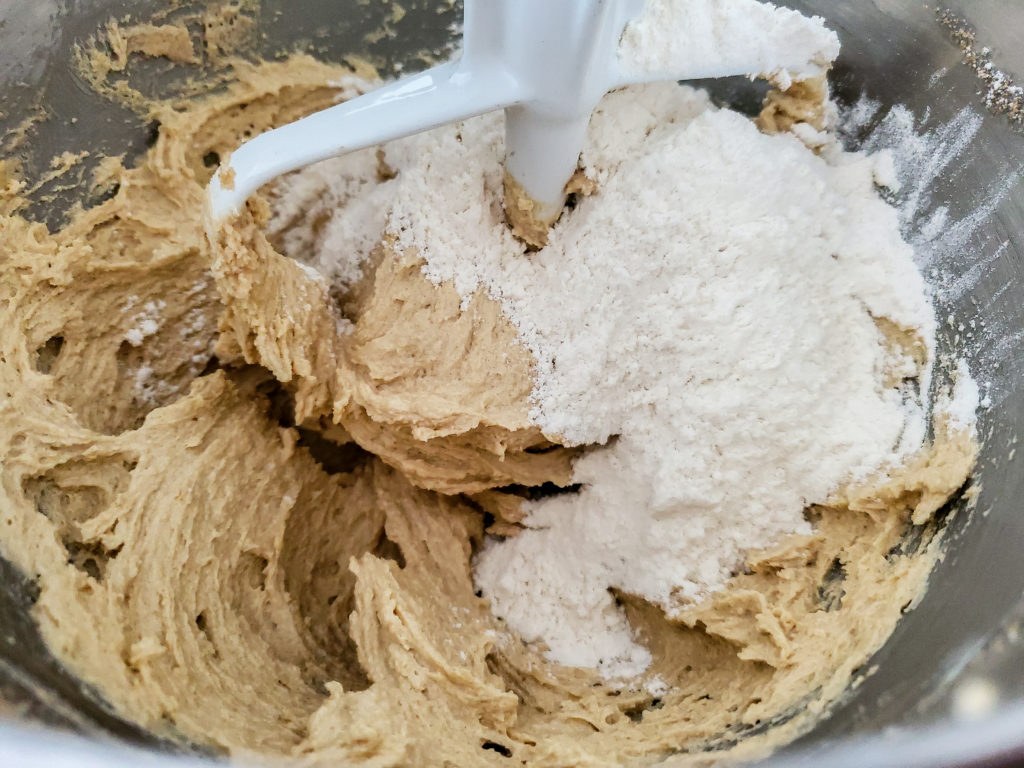
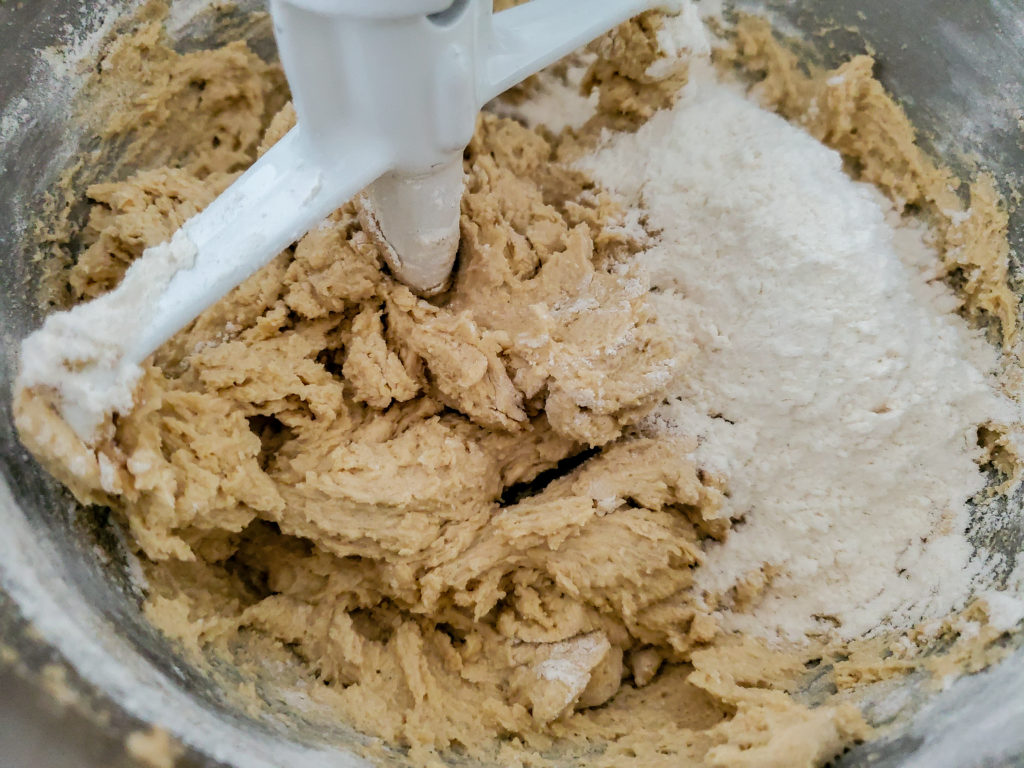
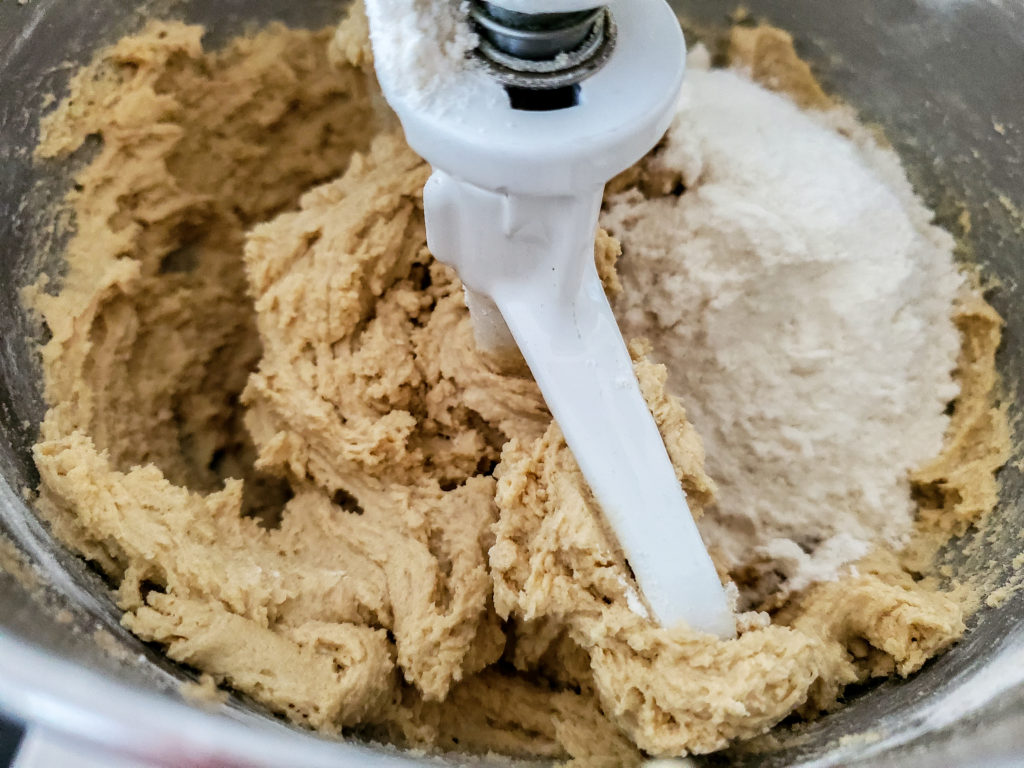 Once the dough has formed and all the dry ingredients are mixed in. Add in the chopped chocolate bar! It will look like a LOT of chocolate…but don’t worry, this is what makes the cookie so delicious!!
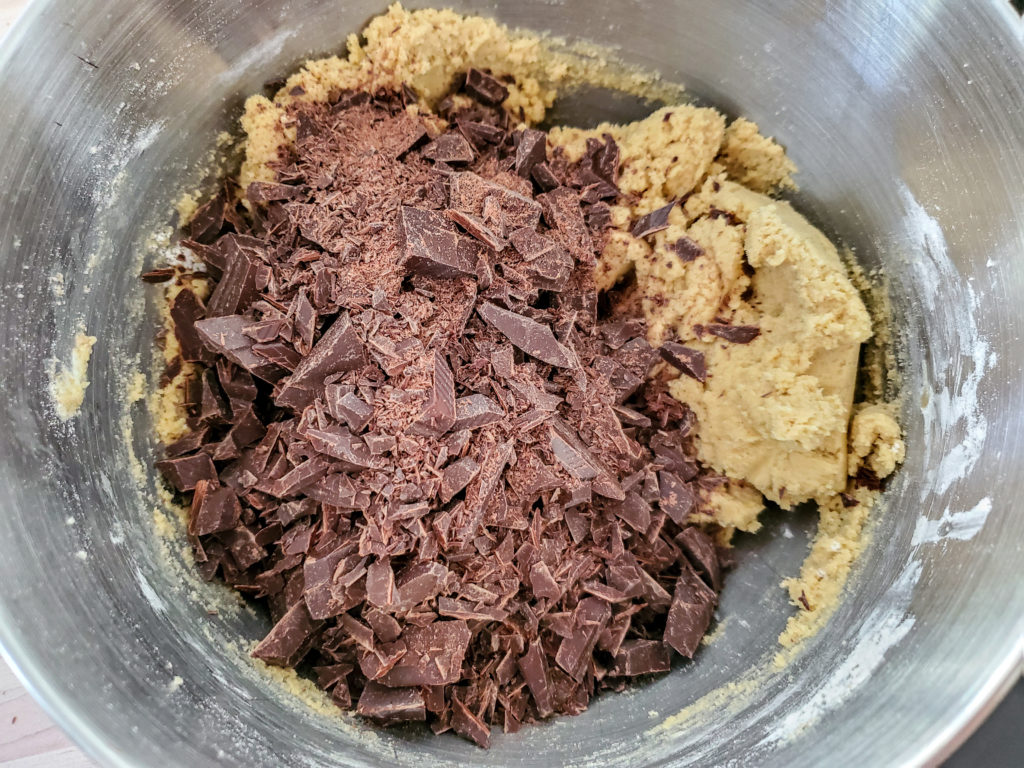 Mix until just combined (this will happen quickly) and you don’t want to overwork the dough!
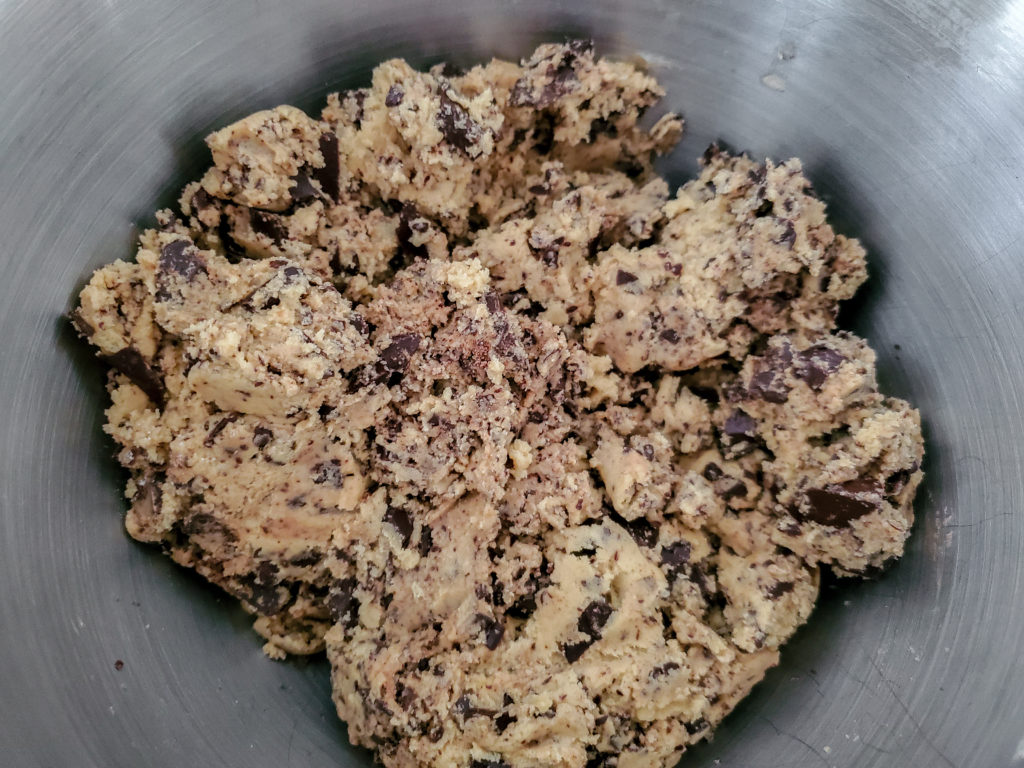 Using a large cookie dough scoop (~3 tbsp per ball), scoop out all the dough onto a lined baking tray or plate. This recipe makes about ~24-28 cookies.
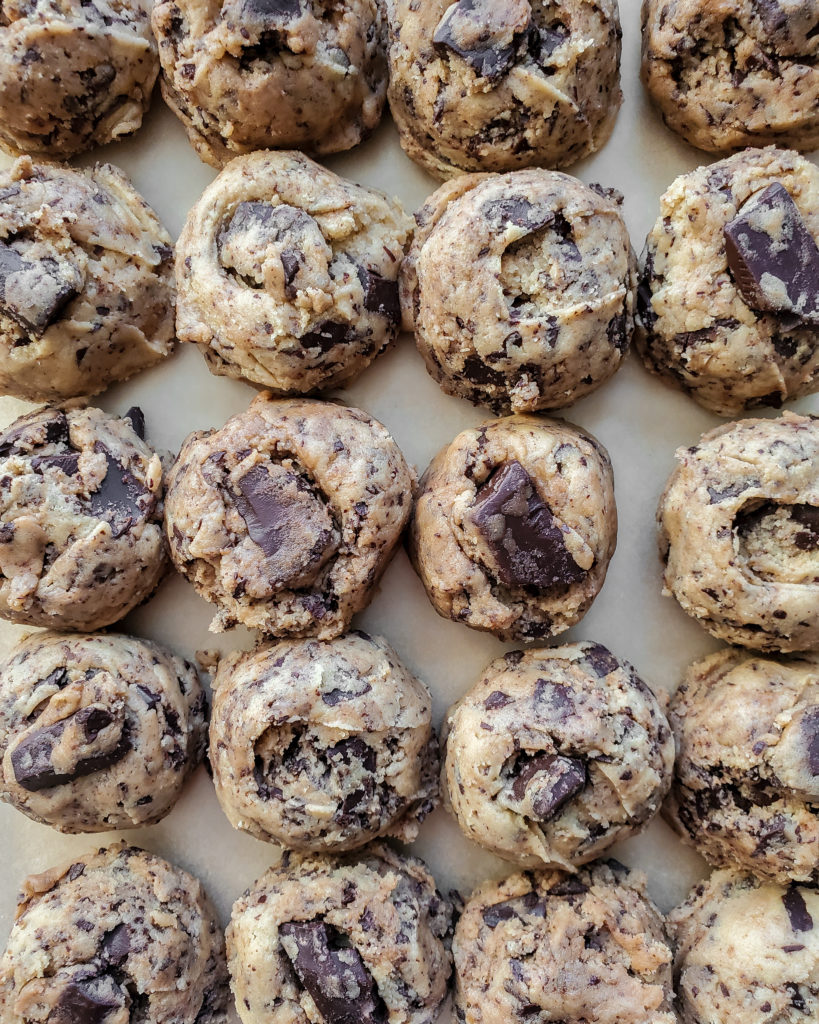 I try to position some of the large chocolate chunks on top to create pools of chocolate.
Refrigerate the dough for at least 10-15 minutes before baking. Leave the scooped dough you are not baking to rest in the fridge until it’s their turn to go in the oven!
Bake at 350°F for 12 1/2 minutes. Remove from the oven and quickly put 2 Andes chocolate candy halves on top of the hot cookies. Try to put them offset in the middle, not too close to the edge so the chocolate doesn’t melt off. Then immediately put them back into the oven for 2 more minutes, then remove from the oven.
 The chocolates won’t look melted after 2 minutes, but trust me they are!
 Give the cookie sheet a few bangs on a sturdy counter top. This will help the melted chocolate spread and create pools on top.
 Let the cookies cool on the tray for ~10 minutes before transferring to a cooling rack to finish cooling.
Enjoy!

Andes Mint Chocolate Chip Cookies

In a separate bowl, whisk the flour, baking soda, and salt together. Set aside.
Chop the dark chocolate bar into chip size pieces and set aside. Unwrap and break each Andes chocolate candy in half and set aside.
Preheat oven to 350°F. Using the paddle attachment of the standing mixer, cream the butter and both sugars together until very light and airy (about 5 minutes), starting on low speed then increasing to a medium speed (speed 4) once the sugars are incorporated. Scrape down the sides a few times during the process to make sure everything is evenly incorporated.
Add in the egg, egg yolk, vanilla extract, and peppermint extract. Mix until entire mixture is evenly distributed. Remember to scrape down the sides to make sure it's all incorporated.
Slowly add the dry ingredient mixture (flour, baking soda, salt) in thirds and mix until just combined. Do this on a low speed so a bunch of flour doesn't fluff up! Try not to over mix. Once the flour mixture is incorporated, stop mixing. Then, add in the chopped dark chocolate and mix until evenly distributed in the dough.
Line baking sheets with parchment paper. Using an ice cream scoop (~3 tbsp), scoop balls of dough onto the sheet or a separate plate until all the dough is used up. Place all the scooped dough into the fridge for 10 minutes, then you can start baking!
Place each ball of dough on a the lined baking sheet, leaving plenty of space between each cookie as they will spread when baking. (On a large baking sheet, I can fit about 9-12 cookies). Leave the remaining dough in the fridge until you are able to bake them.
Bake each tray in the oven for ~12 1/2 minutes. Then, quickly take the tray out and put two half pieces of Andes chocolate candies on top around the middle of the cookie. Immediately place the tray back into the oven for 2 more minutes. Remove the tray after and bang on a sturdy countertop about 5 times, which helps the melted chocolate spread a little. Let the cookies cool on the tray for 10 minutes until they set and don't break apart when you try to lift them with a spatula. Be careful and slow when pushing your spatula underneath and transfer the cookies to a cooling rack to completely cool.
Repeat steps 7 and 8 until refrigerated dough is all baked. Try to resist the urge to eat the cookies until they are completely cool. Enjoy!
Ingredients
Directions
In a separate bowl, whisk the flour, baking soda, and salt together. Set aside.
Chop the dark chocolate bar into chip size pieces and set aside. Unwrap and break each Andes chocolate candy in half and set aside.
Preheat oven to 350°F. Using the paddle attachment of the standing mixer, cream the butter and both sugars together until very light and airy (about 5 minutes), starting on low speed then increasing to a medium speed (speed 4) once the sugars are incorporated. Scrape down the sides a few times during the process to make sure everything is evenly incorporated.
Add in the egg, egg yolk, vanilla extract, and peppermint extract. Mix until entire mixture is evenly distributed. Remember to scrape down the sides to make sure it's all incorporated.
Slowly add the dry ingredient mixture (flour, baking soda, salt) in thirds and mix until just combined. Do this on a low speed so a bunch of flour doesn't fluff up! Try not to over mix. Once the flour mixture is incorporated, stop mixing. Then, add in the chopped dark chocolate and mix until evenly distributed in the dough.
Line baking sheets with parchment paper. Using an ice cream scoop (~3 tbsp), scoop balls of dough onto the sheet or a separate plate until all the dough is used up. Place all the scooped dough into the fridge for 10 minutes, then you can start baking!
Place each ball of dough on a the lined baking sheet, leaving plenty of space between each cookie as they will spread when baking. (On a large baking sheet, I can fit about 9-12 cookies). Leave the remaining dough in the fridge until you are able to bake them.
Bake each tray in the oven for ~12 1/2 minutes. Then, quickly take the tray out and put two half pieces of Andes chocolate candies on top around the middle of the cookie. Immediately place the tray back into the oven for 2 more minutes. Remove the tray after and bang on a sturdy countertop about 5 times, which helps the melted chocolate spread a little. Let the cookies cool on the tray for 10 minutes until they set and don't break apart when you try to lift them with a spatula. Be careful and slow when pushing your spatula underneath and transfer the cookies to a cooling rack to completely cool.
Repeat steps 7 and 8 until refrigerated dough is all baked. Try to resist the urge to eat the cookies until they are completely cool. Enjoy!





No Comments